如何搭建一个以Fuwari为框架的个人博客

如何搭建一个以Fuwari为框架的个人博客

搭建Fuwari博客

0. 前言

作为一个什么都不会的新手,我搭这个博客花了不少时间,也走了不少弯路。我在这里分享一下我搭建的过程。这是一篇新手向的文章。

PS:如果出现网络问题导致下载失败或者缓慢请自行科学上网

1. 配置环境(以Windows为例)

1.1 安装VScode

  1. 访问VScode
  2. 下载windows版本
  3. 点击VScode右上角这个按钮来调出终端
    屏幕截图 2025-12-27 160501.png

1.2 安装Git

windows输入以下指令到终端

1
winget install --id Git.Git -e --source winget

安装完后输入以下指令

1
git --version

若返回 Git 版本号(如 git version 2.45.0)则表示安装成功。

1.3 安装node.js

windows输入以下指令到终端

1
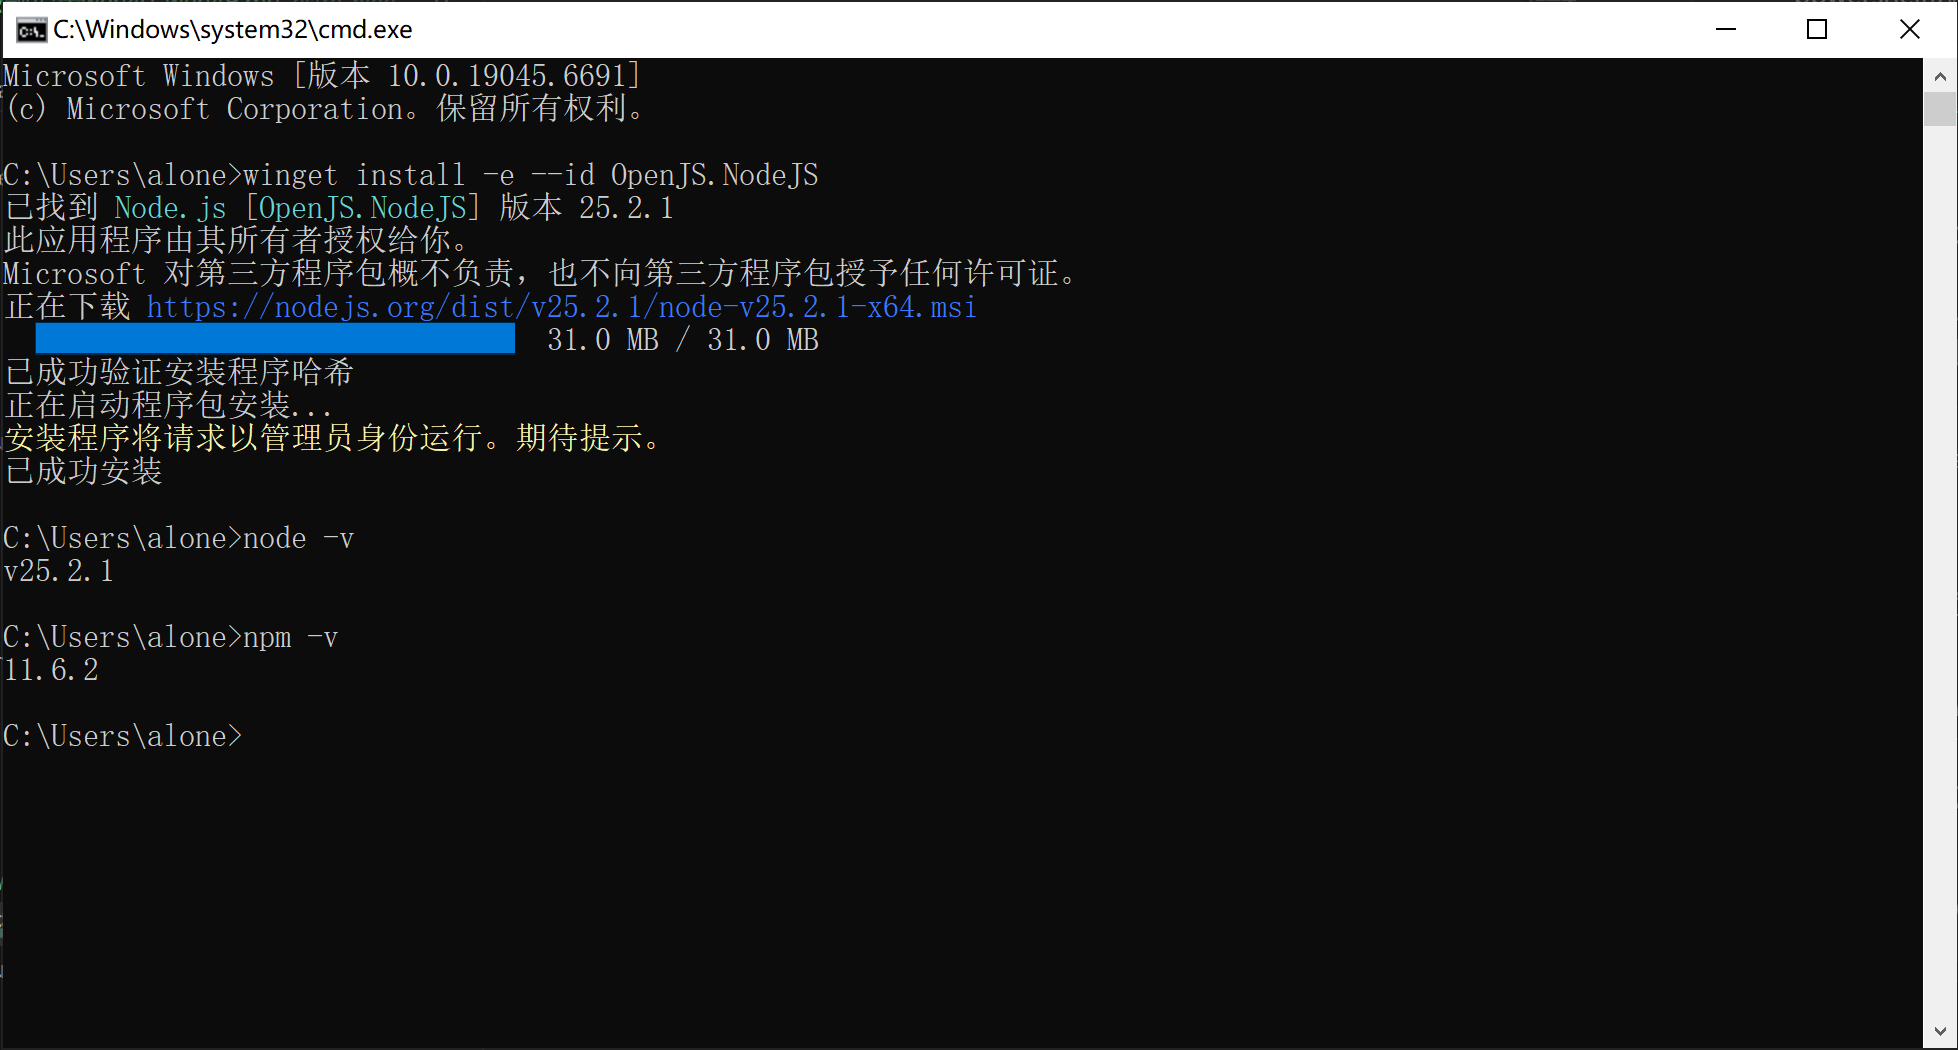
winget install -e --id OpenJS.NodeJS

安装完后分别输入以下指令

1
2
node -v
npm -v

若分别返回npm和node.js的版本号则表示安装成功

PS:此时可能会遇到powershell不允许执行脚本,此时打开管理员权限的powershell执行命令

1
Set-ExecutionPolicy RemoteSigned -Scope LocalMachine

我就用cmd演示了 屏幕截图 2025-12-27 163611.png

1.4 安装pnpm

Fuwari官方强制要求用pnpm管理依赖,所以我们安装pnpm
在终端中分别执行命令

1
2
npm install -g pnpm
pnpm -v

返回版本号就安装成功了

2 构建Fuwari项目

2.1 克隆项目

先选一个存放位置,比如我存放在E:\Fuwari下,执行命令

1
cd E:\Fuwari

然后克隆Fuwari博客模版

1
2
git clone https://github.com/saicaca/fuwari.git 
astro-blog-demo

这里我把目标文件夹命名为 astro-blog-demo,你也可以换成 blog 或任意喜欢的名字。
克隆完成后,终端会多出一段Cloning into 'astro-blog-demo'...的输出。

2.2 运行

cd进项目的根文件夹

1
 cd .\astro-blog-demo\

然后安装依赖

1
pnpm install

此时会出现一长串包名,只要没有报错就不管他

PS:建议先换源再安装依赖这样可以不用全局代理

输出Done什么的就可以开始运行本地项目了
执行pnpm dev会输出这些东西

 1
 2
 3
 4
 5
 6
 7
 8
 9
10
11
12
13
14
15
16
17
PS E:\Fuwari\astro-blog-demo> pnpm dev

> fuwari@0.0.1 dev E:\Fuwari\astro-blog-demo
> astro dev

16:49:16 [types] Generated 1ms
16:49:16 [content] Syncing content
16:49:16 [content] Astro config changed  
16:49:16 [content] Clearing content store
16:49:16 [content] Synced content

 astro  v5.13.10 ready in 3383 ms

┃ Local    http://localhost:4321/
┃ Network  use --host to expose

16:49:16 watching for file changes...

用浏览器访问local那行的地址,会直接进入Fuwari的首页
停止运行按下Ctrl + C

2.3 上传github

搭建blog一般会托管到cloudflare上,而在cf上一般是从github上直接clone仓库。又因为blog上会存些个人文件以及更改一些配置,以及git的特性会导致直接上传到仓库上会有问题,所以我们对原文件夹做一些操作。

  1. 打开项目根文件夹删除.git文件夹
  2. 初始化新的 Git 仓库
1
2
3
git init
git add .
git commit -m "初始化 Astro + Fuwari 博客(使用 pnpm)"
  1. 在github新建一个个人项目。我以astro-blog-demo命名。

PS:github不支持中文,可以用翻译器翻一下

  1. 回到终端,分别执行
1
2
3
git remote add origin https://github.com/你的用户名/astro-blog-demo.git
git branch -M main
git push -u origin main

然后应该会输出以下内容

1
2
3
To https://github.com/你的用户名/astro-blog-demo.git
 * [new branch]      main -> main
Branch 'main' set up to track remote branch 'main' from 'origin'.

3 上传至cloudflare

你需要:

  1. 一个cloudflare账号
  2. 一个域名
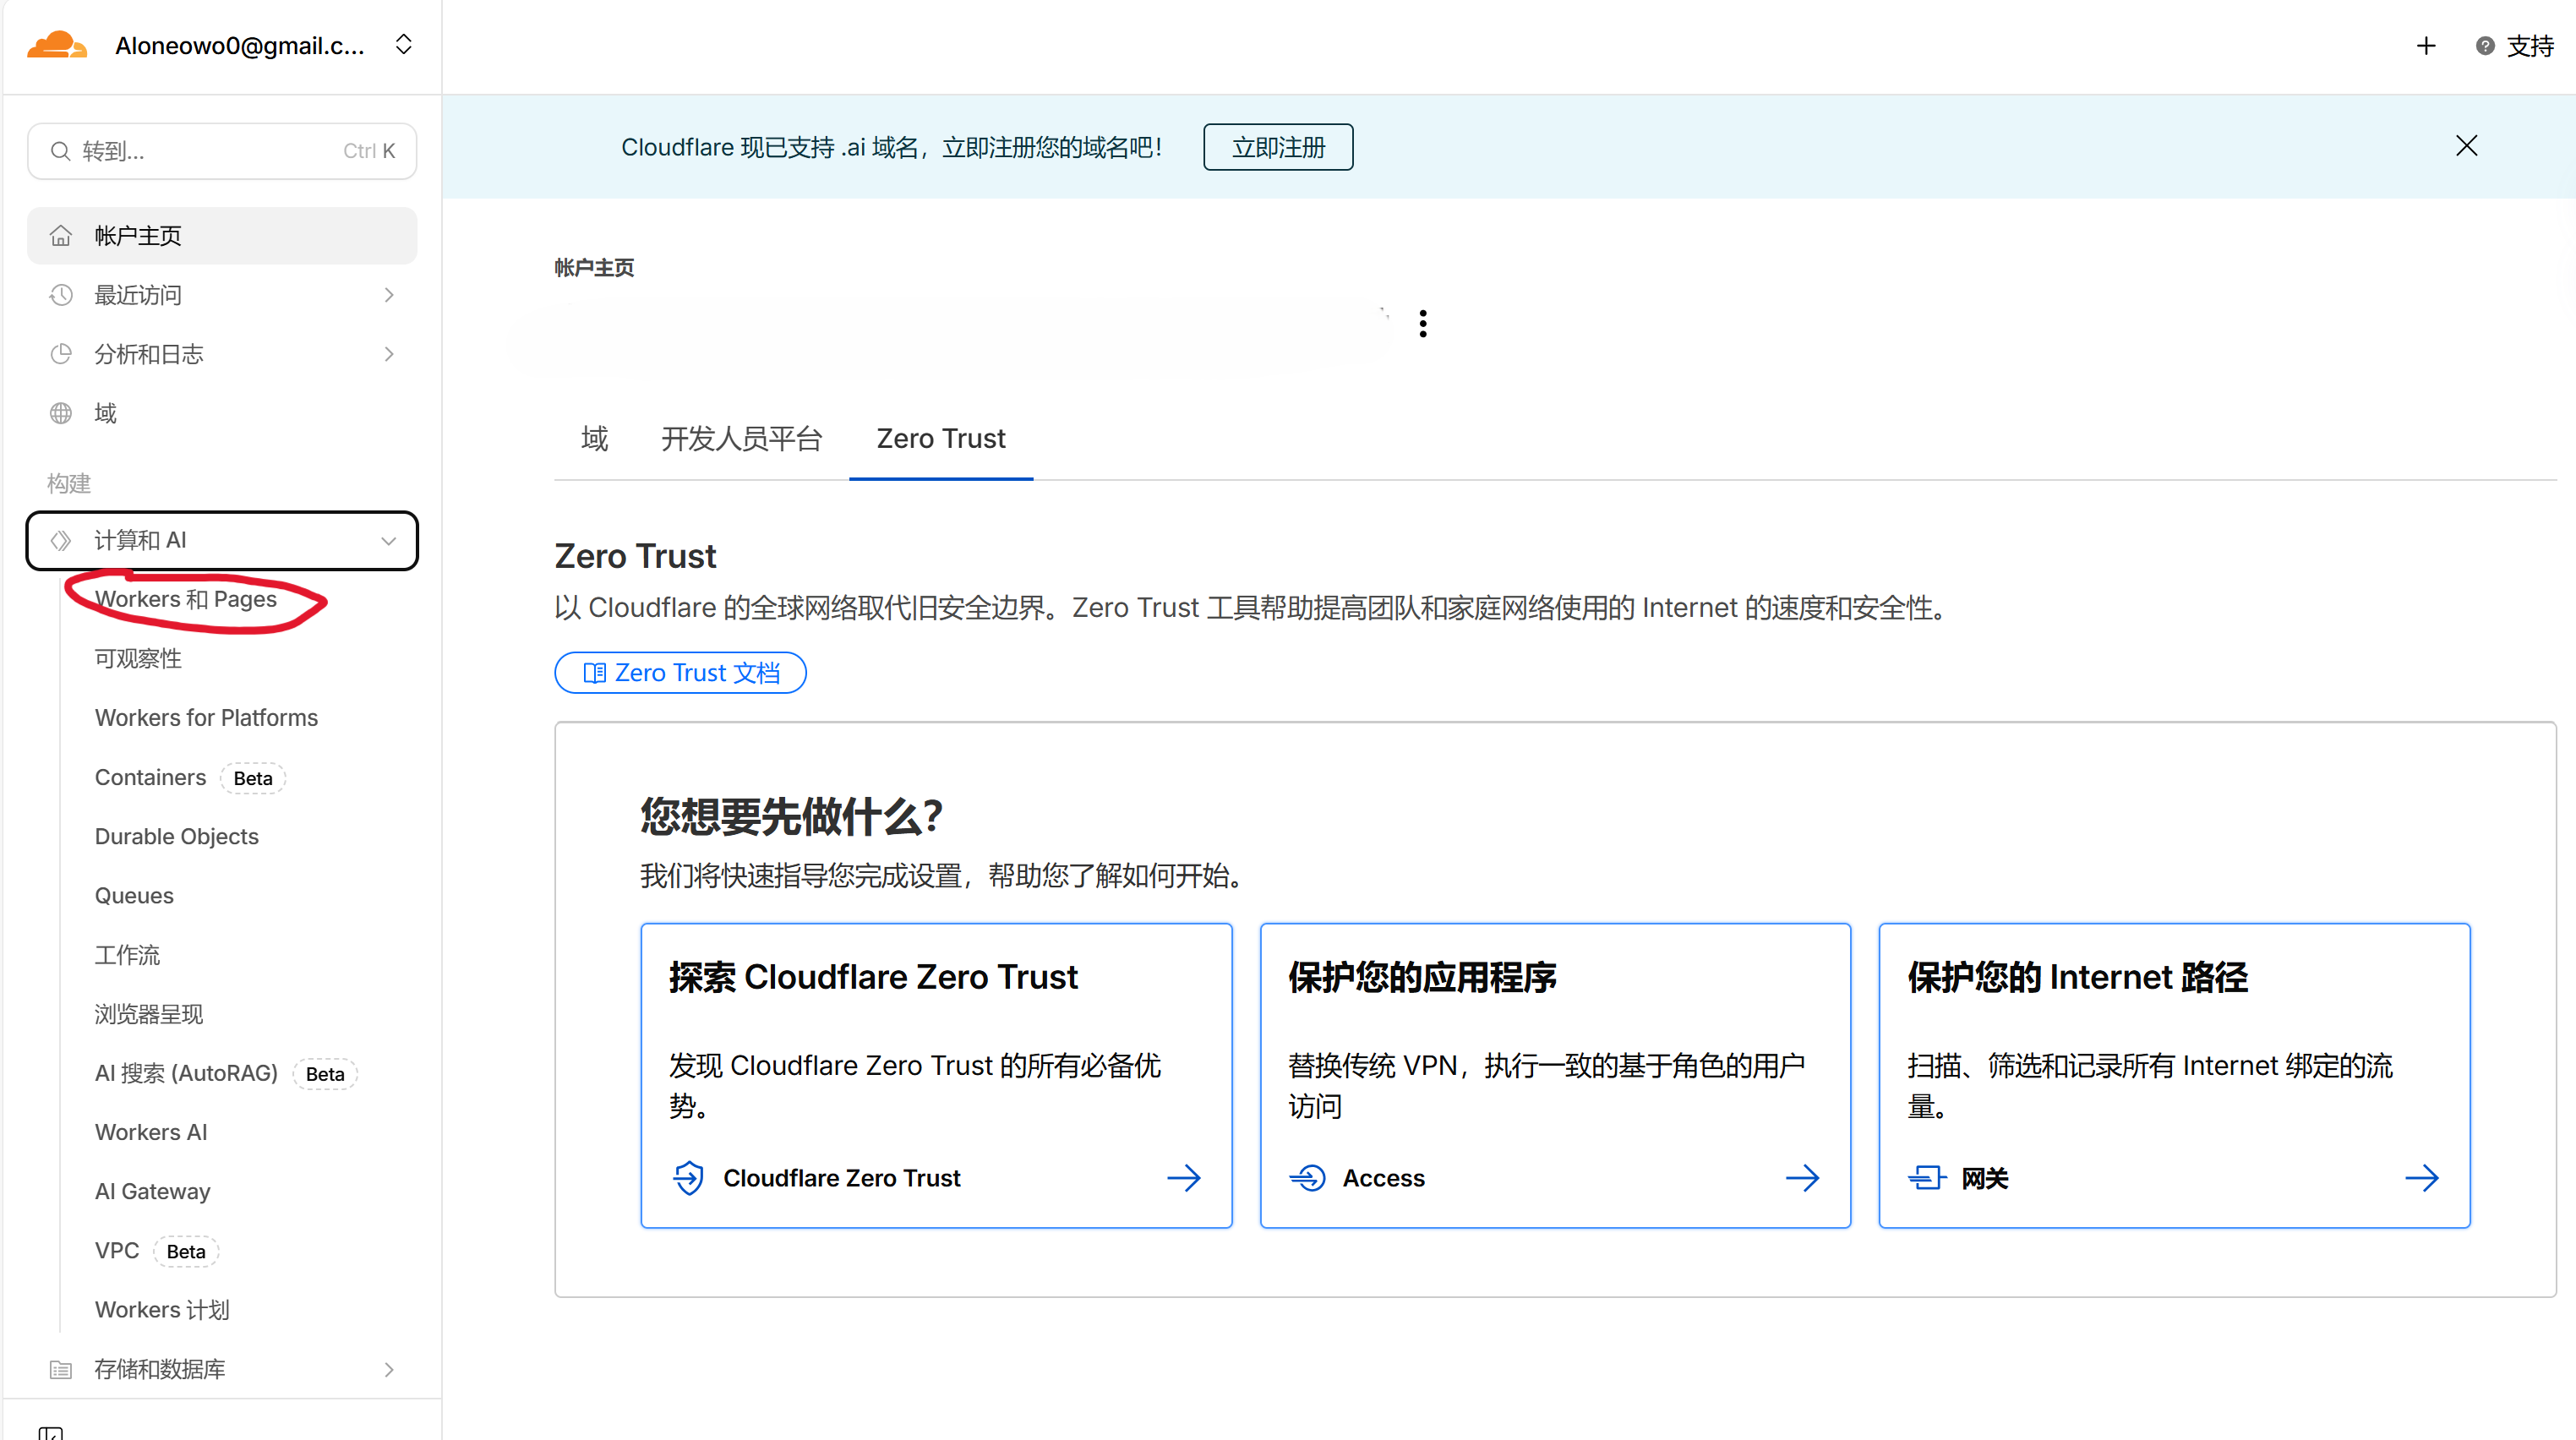
  1. 在右侧计算与AI中找到workers和pages 屏幕截图 2025-12-27 175559.png
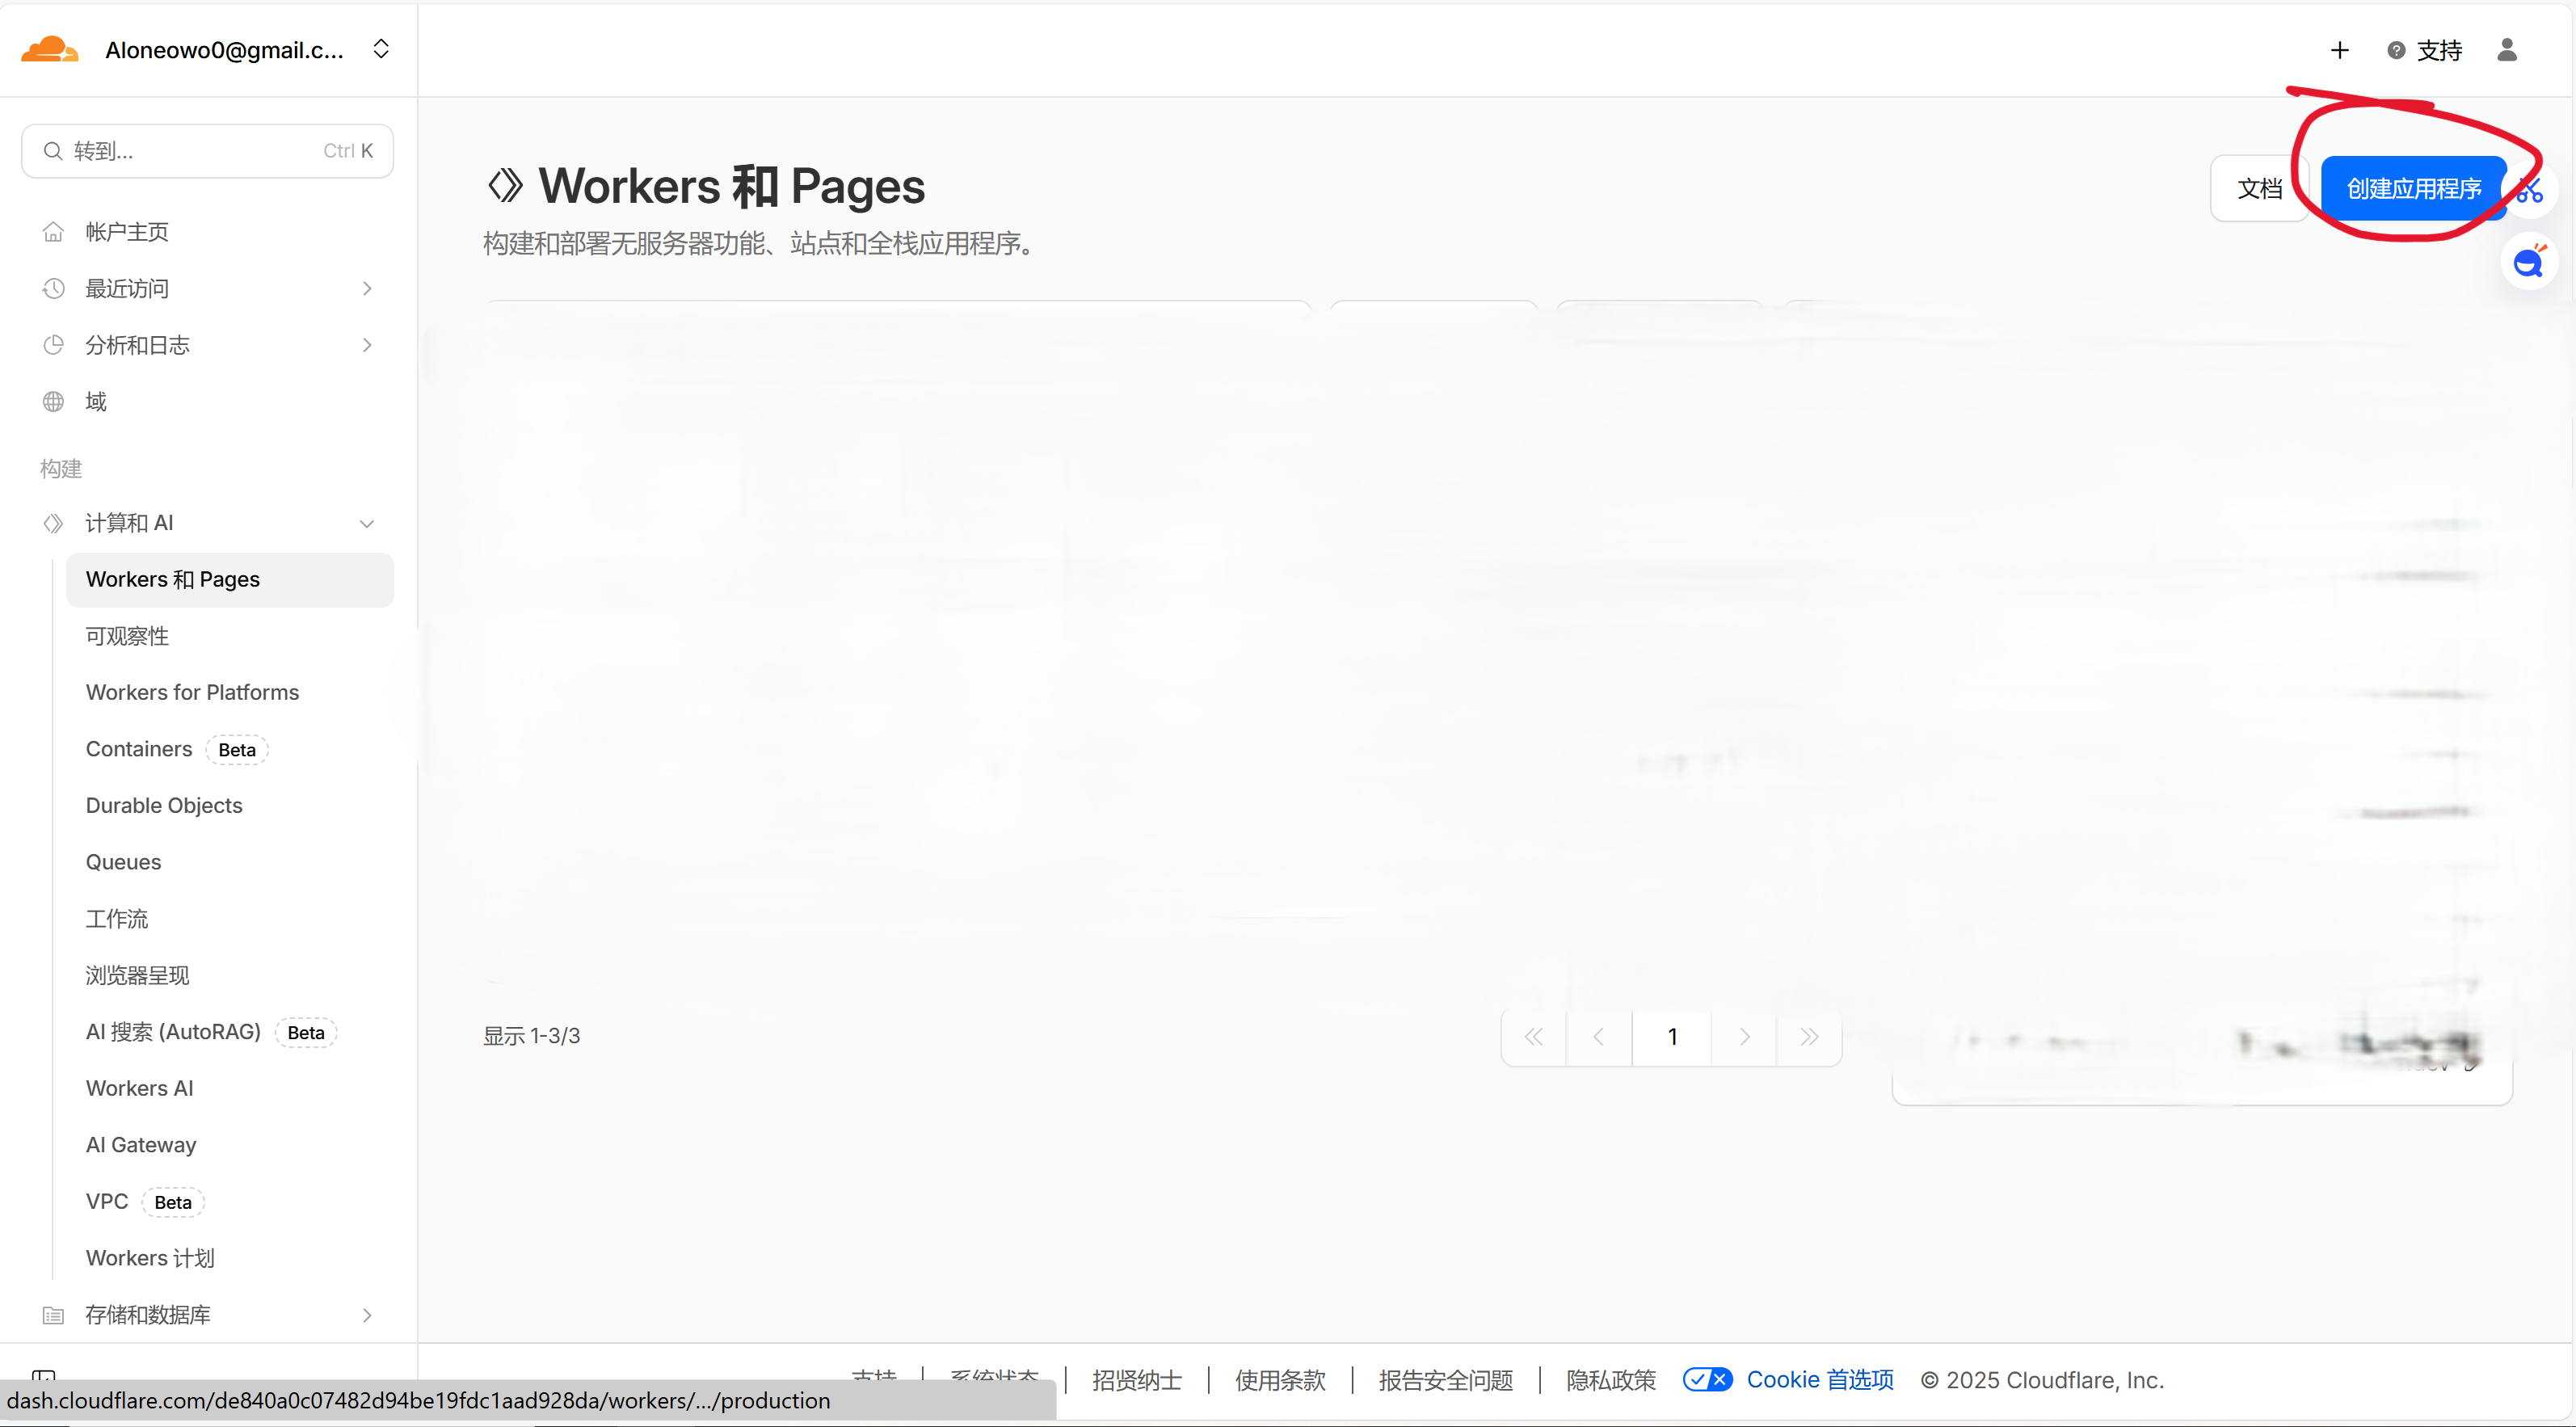
  2. 创建 屏幕截图 2025-12-27 175803.png
  3. 点下面的小字Get started
  4. 导入现有 Git 存储库
  5. 没有绑定github的会让你绑定github,绑定后选择存储库astro-blog-demo
  6. 构建设置
1
2
3
4
# 构建设置
Build command: pnpm i && pnpm build
Build output directory: dist
Root directory: /

然后保存并部署。此时cf会自动生成一个域名:xxx.worker.dev,这个域名国内是不能直接访问的,此时我们要套一个cdn或者绑定域名才能访问。

你已经完成了部署博客😆

4 后续操作

  1. about目录下的md文件位于.\src\content\spec\about.md
  2. 个性化内容在.\src\config.ts,以下是我的代码内容:
 1
 2
 3
 4
 5
 6
 7
 8
 9
10
11
12
13
14
15
16
17
18
19
20
21
22
23
24
25
26
27
28
29
30
31
32
33
34
35
36
37
38
39
40
41
42
43
44
45
46
47
48
49
50
51
52
53
54
55
56
57
58
59
60
61
62
63
64
65
66
67
68
69
70
71
72
73
74
75
76
77
78
79
80
81
82
83
84
85
86
87
88
89
90
import type {
	ExpressiveCodeConfig,
	LicenseConfig,
	NavBarConfig,
	ProfileConfig,
	SiteConfig,
} from "./types/config";
import { LinkPreset } from "./types/config";

export const siteConfig: SiteConfig = {
	title: "aloneowo's blog",
	subtitle: "aloneowo's site",
	lang: "zh_CN", // 语言代码,例如 'en', 'zh_CN', 'ja' 等
	themeColor: {
		hue: 270, // 主题颜色的默认色相,范围为0到360。例如:红色:0, 青绿色:200, 青色:250, 粉色:345
		fixed: false, // 隐藏主题颜色选择器,使访客无法更改
	},
	banner: {
		enable: true, // 是否启用横幅图片
		src: "https://random-api.czl.net/pic/ecy", // 相对于 /src 目录的路径。如果以'/'开头,则相对于 /public 目录
		position: "top", // 等同于 object-position,仅支持 'top', 'center', 'bottom'。默认为 'center'
		credit: {
			enable: false, // 是否显示横幅图片的版权信息
			text: "", // 要显示的版权文字
			url: "", // (可选) 原始作品或艺术家页面的URL链接
		},
	},
	toc: {
		enable: true, // 在文章右侧显示目录
		depth: 2, // 目录中显示的最大标题深度,范围为1到3
	},
	favicon: [
		// 将此数组留空以使用默认favicon
		{
		   src: '/favicon/ico.jpg',    // favicon路径,相对于/public目录
		   //theme: 'light',              // (可选) 'light' 或 'dark',仅在您有不同模式的favicon时设置
		   //sizes: '32x32',              // (可选) favicon尺寸,仅在您有不同尺寸的favicon时设置
		 }
	],
};

export const navBarConfig: NavBarConfig = {
	links: [
		LinkPreset.Home,
		LinkPreset.Archive,
		LinkPreset.About,
		{
			name: "Openlist",
			url: "https://bilibili.com/  ", // 内部链接不应包含基础路径,因为它会自动添加
			external: true, // 显示外部链接图标,并在新标签页中打开
		},
	],
};

export const profileConfig: ProfileConfig = {
	avatar: "assets/images/headimg.jpg", // 相对于 /src 目录的路径。如果以'/'开头,则相对于 /public 目录
	name: "aloneowo",
	bio: "我不要上早八😭",
	links: [
		{
			name: "Bilibili",
			icon: "fa6-brands:bilibili", // 访问 https://icones.js.org/ 获取图标代码
			// 如果图标集尚未包含,您需要安装相应的图标集
			// `pnpm add @iconify-json/<icon-set-name>`
			url: "https://space.bilibili.com/506074066  ",
		},
		{
			name: "Steam",
			icon: "fa6-brands:steam",
			url: "https://store.steampowered.com  ",
		},
		{
			name: "GitHub",
			icon: "fa6-brands:github",
			url: "https://github.com/aloneqwq  ",
		},
	],
};

export const licenseConfig: LicenseConfig = {
	enable: true,
	name: "CC BY-NC-SA 4.0",
	url: "https://creativecommons.org/licenses/by-nc-sa/4.0/  ",
};

export const expressiveCodeConfig: ExpressiveCodeConfig = {
	// 注意:某些样式(如背景颜色)正在被覆盖,请参见 astro.config.mjs 文件
	// 请选择深色主题,因为此博客主题目前仅支持深色背景
	theme: "github-dark",
};
  1. 在.\astro.config.mjs处可以编辑你blog的域名,位于此处:
 1
 2
 3
 4
 5
 6
 7
 8
 9
10
11
.....
// https://astro.build/config
export default defineConfig({
	site: "https://blog.aloneowo.dpdns.org/",
	base: "/",
	trailingSlash: "always",
	integrations: [
		tailwind({
			nesting: true,

.....
  1. blog文件放在.\src\content\posts处,需具有以下开头
1
2
3
4
5
6
7
8
---
title: "Hello Fuwari"
published: yyyy-mm-dd
description: "第一篇测试文章"
tags: ["测试"]
category: "随笔"
draft: false
---
  1. git提交:分别执行
1
2
3
git add .
git commit -m "update" //"update"可替换
git push
使用 Hugo 构建
主题 StackJimmy 设计